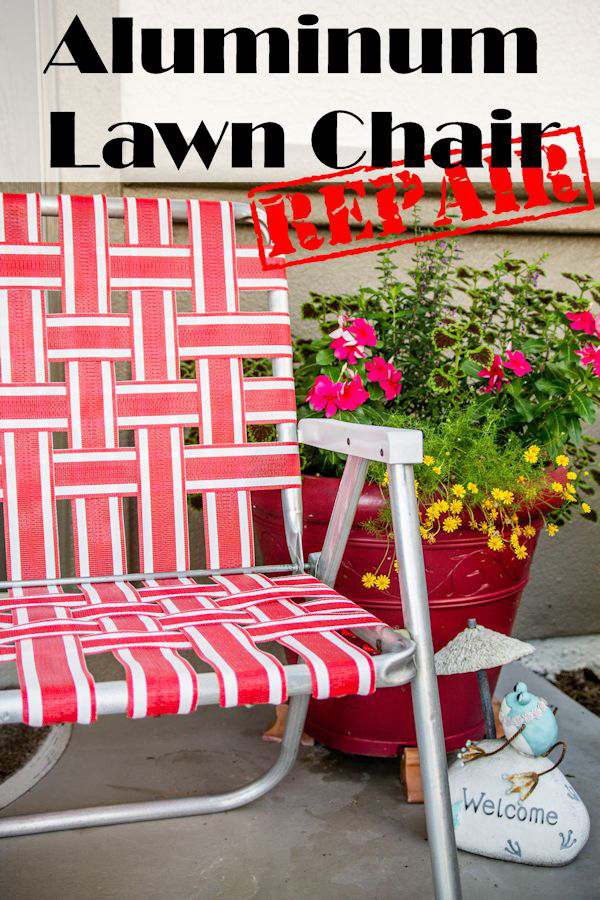
Repairing Lawn Furniture Webbing: A Practical Guide
Lawn furniture, with its enduring charm and ability to enhance outdoor living spaces, often faces the test of time and weather. One common issue that can affect the longevity and comfort of this furniture is the breakdown of its webbing. Webbing, the woven material that forms the seating surface, can fray, tear, or sag, compromising both aesthetics and functionality. Fortunately, with the right tools and techniques, repairing lawn furniture webbing is a manageable undertaking that can revitalize your outdoor seating.
Assessing the Damage: Identifying the Problem
The first step in repairing lawn furniture webbing is assessing the extent of the damage. A thorough inspection will reveal the nature of the issue and guide the appropriate repair strategy. Here are some common types of webbing damage:
- Fraying: This occurs when the webbing strands begin to unravel, creating a weakened and potentially unsightly area.
- Tears: Tears are more severe breaks in the webbing, often caused by excessive weight or sharp objects.
- Sagging: This occurs when the webbing loses its tension, resulting in a drooping or uneven seating surface.
Once the type of damage is identified, you can choose the most effective repair method. For minor fraying, reinforcement may be sufficient. Tears require patching or replacement. Sagging usually calls for tightening or replacing the webbing.
Repair Methods: Restoring the Integrity of Your Webbing
Repairing lawn furniture webbing involves a combination of techniques, each tailored to the specific type of damage.
Reinforcement: For fraying webbing, applying a sealant or weaving in additional strands can strengthen the area. Sealants create a protective barrier, preventing further unraveling. Weaving additional strands into the existing webbing adds structural support.
Patching: Tears in the webbing can be repaired with patches. This involves cutting a piece of new webbing slightly larger than the tear, applying adhesive to both the patch and the torn area, and then securing the patch over the tear. It's crucial to use a strong adhesive suitable for outdoor use to ensure a durable bond.
Replacement: If the webbing is extensively damaged or severely sagging, replacement might be the best option. This involves removing the old webbing, measuring the frame, and installing new webbing. The process may involve re-weaving, using a webbing replacement kit, or calling upon a professional for assistance.
Tools and Materials: Equipping Yourself for Success
To tackle lawn furniture webbing repair effectively, gather the following tools and materials:
- Screwdriver: For removing and securing screws that attach the webbing to the frame.
- Pliers: To grip and manipulate the webbing during repair.
- Scissors or Utility Knife: For cutting webbing and patches.
- Measuring Tape: For accurate measurements when replacing webbing.
- Webbing: Choose a durable, weather-resistant webbing material that matches the original webbing or complements the furniture's style.
- Adhesive: Select a strong, outdoor-grade adhesive designed for webbing repair.
- Sealant: For applying to frayed areas and preventing further unraveling.
With these tools and materials, you'll be well-equipped to tackle the repair process. Remember, patience, precision, and a little know-how can bring new life to your cherished lawn furniture, extending its functional lifespan and enhancing your outdoor enjoyment.

How To Save Yourself Money With Diy Patio Chair Repair

Patio Chair Webbing Replacement By The Experts Southern Company

Rewebbing A Lawn Chair Without Actual Webbing Chairs Metal Patio Furniture Makeover

How To Replace Lawn Chair Webbing

How To Replace Lawn Chair Webbing

How To Repair Chair Straps And Webbing Homesteady Patio Chairs Redo Furniture Makeover

Outdoor Furniture Repair How To Fix A Vinyl Strap On Lounge Chair Sunniland Patio In Boca Raton

How Do You Reweb Outdoor Patio Furniture Hometalk

Aluminum Lawn Chair Diy Repair My Life Abundant

Aluminum Lawn Chair Diy Repair My Life Abundant
Related Posts


