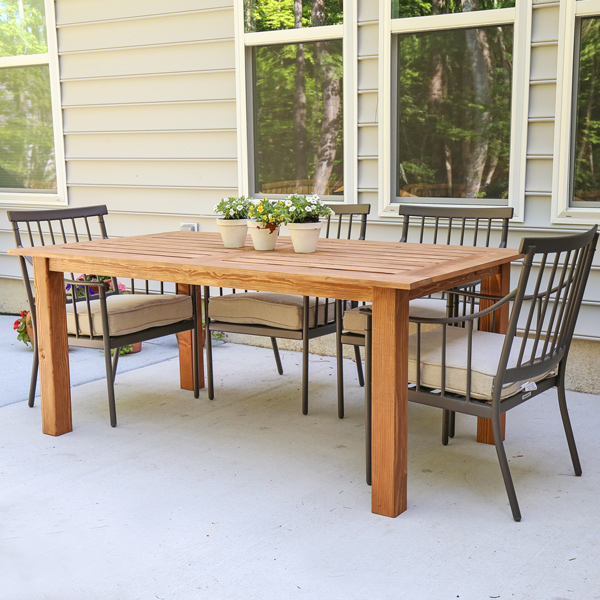
Building Your Dream Outdoor Patio Table: DIY Guide
Transform your outdoor space into a welcoming oasis with a custom-built patio table. A DIY patio table project offers a fulfilling experience, allowing you to create a unique centerpiece that reflects your personal style and outdoor living needs. This guide provides a comprehensive overview of the steps involved in crafting your own outdoor patio table, from design inspiration to finishing touches.
1. Planning and Design:
The first step in constructing a DIY patio table is to carefully plan the design and determine the materials. Consider the following factors:
- Size and Shape: Determine the table's size, shape, and seating capacity to accommodate your desired use. Square, rectangular, round, or hexagonal shapes are popular options.
- Style and Material: Choose a style that complements your outdoor decor. Popular material choices include wood, metal, composite materials, and recycled materials.
- Budget: Set a budget for your project and factor in the cost of materials, tools, and any necessary hardware.
- Location and Exposure: Consider the table's location and exposure to the elements when selecting materials. Choose durable, weather-resistant materials for outdoor use.
- Features: Determine if you want to include features like an umbrella hole, built-in storage, or a fire pit.
After defining your requirements, create a detailed sketch or blueprint of your patio table design. This visual representation will serve as a guide throughout the construction process.
2. Material Selection and Preparation:
The choice of materials significantly impacts the durability, appearance, and cost of your patio table. Here are some common options:
- Wood: Outdoor-friendly woods like cedar, redwood, teak, or pressure-treated pine resist moisture and decay. Select lumber free of cracks, knots, or defects.
- Metal: Steel, aluminum, wrought iron, and galvanized metal offer durability and modern aesthetics. Consider powder-coated finishes for added protection against rust and corrosion.
- Composite Materials: These materials blend wood fibers with plastic or resin, offering durability, weather resistance, and low maintenance.
- Recycled Materials: Repurposed materials like pallets, reclaimed lumber, or salvaged metal add character and sustainability to your project. Ensure they are sturdy and suitable for outdoor use.
Once you choose your materials, prepare them for construction. Cut lumber to the required sizes, sand surfaces, and apply any necessary finishes like stains or paints.
3. Construction Process:
The construction process involves assembling the tabletop, legs, and frame. This section provides a general guide, and specific steps may vary depending on your design:
- Tabletop: Construct the tabletop by joining individual pieces of wood or using a pre-made tabletop. Secure the tabletop components with screws, nails, or glue. Ensure the tabletop is level and stable.
- Legs and Frame: Construct the legs and frame according to your design, using sturdy materials and secure connections. Consider using brackets, corner braces, or gussets for added strength.
- Assembly: Attach the legs to the tabletop, ensuring the frame and legs are plumb and level. Use appropriate fasteners and reinforce any critical areas.
Throughout the construction process, carefully measure and mark sections, ensuring precision and accuracy. Use a level to check for plumbness and stability, and employ clamps to secure pieces during assembly.
4. Refinishing and Finishing Touches:
After completing the construction, refinish and add finishing touches to enhance the beauty and durability of your patio table. Consider the following steps:
- Sanding: Sand all surfaces smooth to provide a consistent finish. Use progressively finer grit sandpaper for a smooth and polished surface.
- Staining or Painting: Apply a weather-resistant stain, paint, or sealant to protect the wood or metal. Choose a color and finish that complements your outdoor decor.
- Protective Coatings: Apply a layer of clear sealant or varnish to protect the finish from UV rays, moisture, and wear. Re-apply the coat periodically for continued protection.
Add decorative elements like custom handles, carvings, or metal accents to personalize your table. You can also create a matching set by constructing benches, chairs, or a coffee table with a similar style.
Building a DIY patio table is a rewarding project that enhances your outdoor space and provides a sense of accomplishment. By following these steps, you can create a unique and functional centerpiece that complements your personal style and enhances your outdoor living experience.

Diy Outdoor Table Angela Marie Made

How To Diy An Outdoor Farmhouse Patio Table
:max_bytes(150000):strip_icc()/cherishedbliss-2fe16e06a68b44589c6631e6b39ae68f.jpg?strip=all)
18 Diy Outdoor Table Plans

Diy Farmhouse Outdoor Patio Table Made With 2 4 S For Less Than 60

Diy Patio Table 15 Easy Ways To Make Your Own Bob Vila

Diy Outdoor Table Angela Marie Made

Outdoor Dining Table Kreg Tool

Modern Diy Patio Table Effie Row

Diy How To Build A Round Outdoor Dining Table Building Strong

Diy Outdoor Patio Table Tutorial Decor And The Dog
Related Posts


