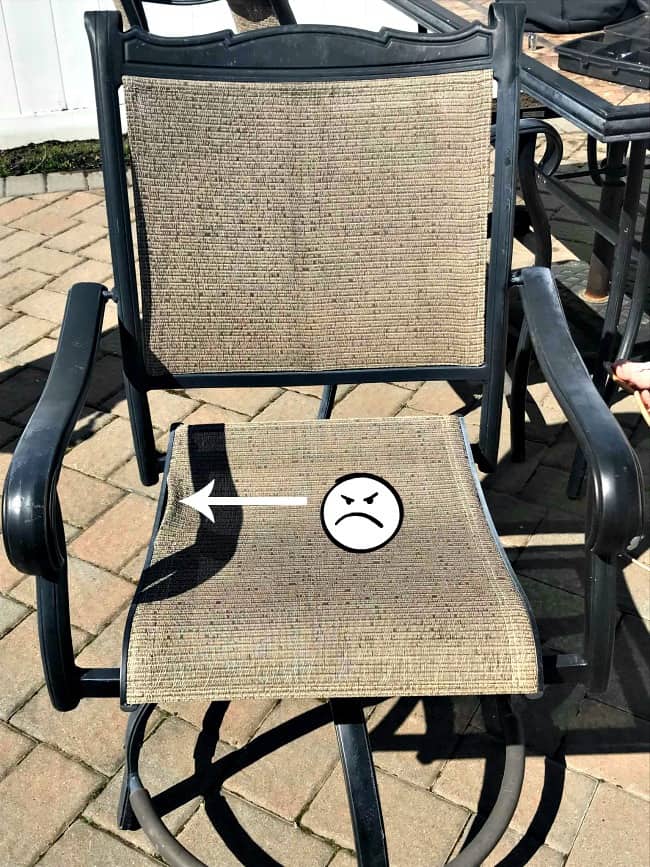
How to Repair Webbing on Outdoor Furniture
Maintaining outdoor furniture is essential to ensure its longevity and prevent costly replacements. Webbing, a crucial component of many outdoor furniture pieces, often requires repairs due to weathering, UV damage, or general wear and tear. This comprehensive guide will provide you with a step-by-step approach to repair webbing on outdoor furniture, ensuring a comfortable and stylish outdoor space.
Materials Required:
- New webbing material (matching the original webbing)
- Webbing stretcher (or a flathead screwdriver)
- Scissors
- Staple gun and staples
Essential Aspects of Webbing Repair:
Before embarking on the repair, it is important to understand the essential aspects of webbing replacement. This will ensure a successful outcome and prevent further damage to the furniture.
- Proper Tension: The key to a durable repair is achieving the correct tension in the webbing. Over-tightening can cause the webbing to snap, while loose webbing will sag and become uncomfortable.
- Matching Material: Choose a webbing material that matches the original in terms of size, weight, and weave. Different types of webbing have varying levels of durability and weather resistance, so it is important to select one appropriate for your outdoor conditions.
- Secure Attachment: The webbing must be securely attached to the frame using heavy-duty staples. This will prevent it from slipping or moving, ensuring a comfortable and stable seating experience.
Step-by-Step Repair Guide:
With the essential aspects in mind, follow these steps to repair webbing on outdoor furniture:
- Prepare the Furniture: Remove any cushions or other accessories from the furniture. Inspect the existing webbing for any tears or damage.
- Remove Old Webbing: Using a staple remover or pliers, carefully remove the old webbing from the frame. Be cautious not to damage the frame or any other parts of the furniture.
- Measure and Cut New Webbing: Measure the length and width of the webbing required to replace the old webbing. Cut the new webbing to the correct size.
- Install New Webbing: Position the new webbing onto the frame, ensuring it is centered and aligned properly. Use a webbing stretcher to tension the webbing evenly.
- Secure the Webbing: Using a staple gun, secure the webbing to the frame at regular intervals. Start in the center and work your way outward, pulling the webbing slightly as you staple it to ensure proper tension.
- Trim Excess Webbing: Trim any excess webbing around the edges of the frame.
With the webbing securely attached, your outdoor furniture is ready to be enjoyed once again. Proper maintenance and occasional inspections will help extend the life of your repaired furniture and ensure a comfortable outdoor experience.

How To Save Yourself Money With Diy Patio Chair Repair

Replacing Repairing Dryrotted Fabric On Outdoor Furniture Hometalk

Patio Chair Webbing Replacement By The Experts Southern Company

How To Replace Your Patio Furniture Webbing Without Spending A Fortune

How To Save Yourself Money With Diy Patio Chair Repair

How To Repair Chair Straps And Webbing Homesteady Patio Furniture Makeover Chairs Redo

How To Replace Lawn Chair Webbing

Rewebbing A Lawn Chair Without Actual Webbing Hometalk

How To Replace Outdoor Sling Chair Fabric With Phifertex

How To Save Yourself Money With Diy Patio Chair Repair
Related Posts


