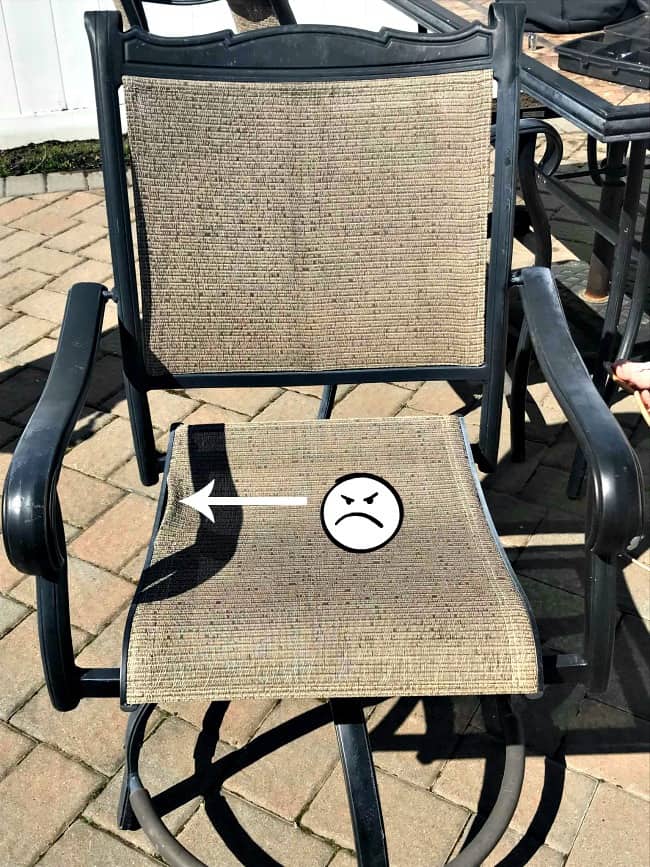
How to Repair Webbing on a Patio Chair
Patio chairs, particularly those made with webbing, are a popular choice for outdoor seating due to their durability and comfort. However, over time, the webbing can become damaged or stretched, compromising the chair's support and aesthetics. Repairing webbing on a patio chair is a relatively simple task that can be completed with basic tools and materials.
Assessing the Damage
Before attempting repairs, assess the extent of the damage. Check for any tears, holes, or excessive stretching in the webbing material. If the damage is minor, such as a small tear, it may be possible to repair it without replacing the entire webbing. However, if the damage is more severe, replacing the webbing may be necessary.
Materials and Tools
To repair or replace patio chair webbing, you will typically need the following materials and tools:
- Replacement webbing (optional)
- Webbing stretcher (optional)
- Scissors
- Needle-nose pliers
- Hammer (if using metal staples)
- Staples (for metal frames) or hog rings (for plastic frames)
- Tape measure or ruler
Step-by-Step Repair Instructions
For Minor Tears:
1.Clean the damaged area of the webbing thoroughly with a mild soap solution.
2.Align the torn edges carefully and apply a small amount of adhesive or webbing repair tape to hold them together securely.
For Replacing the Webbing:
1.Remove the old webbing by carefully removing the staples or hog rings that hold it in place.
2.Measure the width and length of the frame to determine the dimensions of the new webbing.
3.Cut the new webbing to the desired size, ensuring there is enough slack to allow for stretching.
4.Stretch the new webbing evenly over the frame. You can use a webbing stretcher for tighter tension.
5.Secure the webbing to the frame using staples or hog rings.
6.Trim any excess webbing and adjust the tension as needed.
Tips for Success
- Use high-quality webbing that is UV-resistant and suitable for outdoor use.
- Stretch the webbing tightly to ensure it provides adequate support.
- Secure the webbing securely to prevent it from slipping or loosening.
- If you are replacing the entire webbing, consider using a webbing stretcher to achieve consistent tension.
- Regularly inspect the webbing and make repairs as needed to extend its lifespan.
Conclusion
Repairing or replacing webbing on a patio chair is a simple and cost-effective way to restore its functionality and appearance. By following the steps outlined in this article, you can easily maintain the comfort and durability of your outdoor seating.

How To Save Yourself Money With Diy Patio Chair Repair

Replacing Repairing Dryrotted Fabric On Outdoor Furniture Hometalk

How To Repair Chair Straps And Webbing Homesteady Patio Chairs Redo

Patio Chair Webbing Replacement By The Experts Southern Company

How To Save Yourself Money With Diy Patio Chair Repair

How To Save Yourself Money With Diy Patio Chair Repair

Replacement Sling Cover For Patio Furniture Make Your Own

How To Replace Your Patio Furniture Webbing Without Spending A Fortune

Outdoor Furniture Repair How To Fix A Vinyl Strap On Lounge Chair Sunniland Patio In Boca Raton

Rewebbing A Lawn Chair Without Actual Webbing Hometalk
Related Posts


