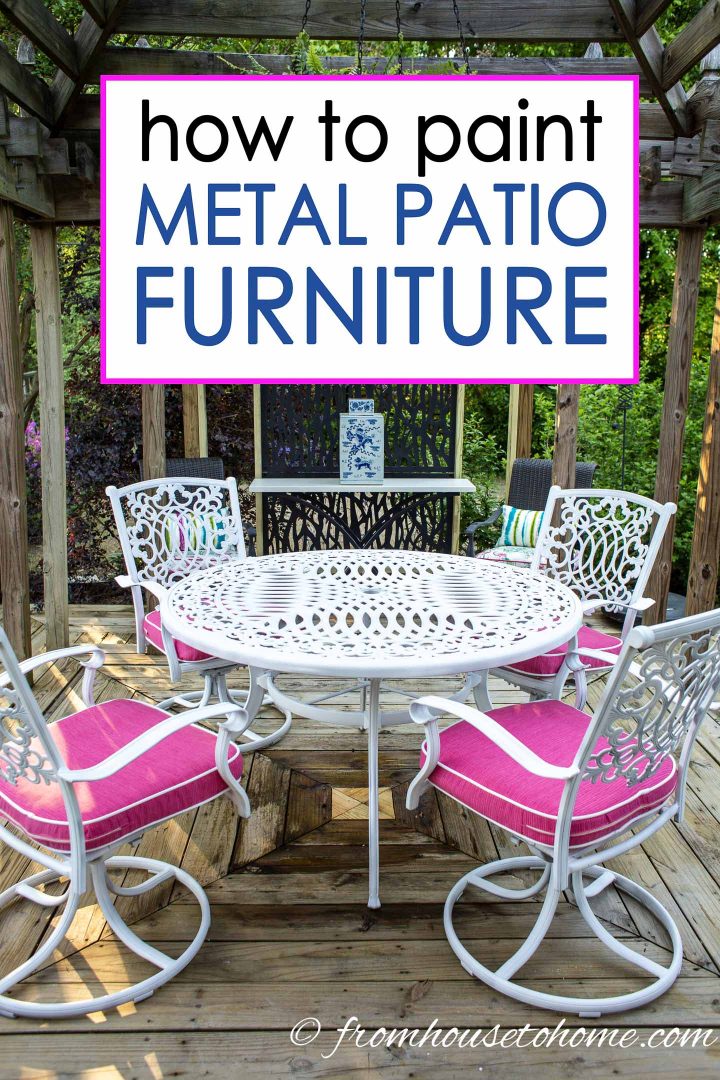
Essential Aspects of DIY Painted Patio Chairs
DIY painted patio chairs are a cost-effective and creative way to upgrade your outdoor space and add a personal touch to your home. To ensure that your DIY painted patio chairs are both beautiful and durable, it's essential to focus on the following key aspects:
Let's dive into each aspect in detail to help you achieve the best results with your DIY painted patio chair project.
1. Preparation: The Foundation of Success
Thorough preparation is paramount for achieving a lasting finish on your painted patio chairs. Begin by cleaning the chairs meticulously to remove dirt, grease, and any loose paint. Sanding the surface lightly helps create a surface for the paint to adhere to better. Don't skip this step, as it's crucial for the paint's durability.
2. Choosing the Right Paint: Durability Meets Aesthetics
Selecting the appropriate paint for your patio chairs is essential to ensure they withstand outdoor elements. Opt for exterior-grade latex or acrylic paints, designed to resist fading, peeling, and moisture. These paints provide a durable finish that can endure the rigors of outdoor use.
3. Priming for Perfection: A Strong Paint Bond
Applying a primer before painting is a crucial step often overlooked. Primer creates a strong bond between the paint and the chair's surface, preventing peeling and chipping. Choose a primer compatible with your chosen paint and apply it evenly, allowing it to dry completely before painting.
4. Painting Techniques: Achieving a Professional Finish
Use a high-quality paintbrush or roller to apply the paint smoothly and evenly. For a flawless finish, apply multiple thin coats rather than one thick layer. Allow each coat to dry thoroughly before applying the next. Sanding lightly between coats helps achieve an ultra-smooth surface.
5. Drying and Curing: Patience for Durability
Patience is key when it comes to drying and curing your painted patio chairs. Allow ample time for each coat of paint to dry thoroughly before using the chairs. Follow the manufacturer's instructions for curing time, which may vary depending on the paint used. Proper curing ensures a long-lasting, durable finish.
6. Sealing for Protection: Enhancing Longevity
Applying a clear sealant over the painted finish is the final touch to protect your patio chairs from outdoor elements. Choose a sealant specifically designed for exterior use and apply it evenly, following the manufacturer's instructions. This additional layer provides a barrier against UV rays, moisture, and wear, extending the life of your painted chairs.
7. Maintenance: Preserving Your Creation
Regular maintenance helps preserve the beauty and longevity of your DIY painted patio chairs. Clean them periodically using a mild soap solution and touch up any scratches or chips promptly. If you notice fading or peeling over time, consider repainting the chairs following the same steps outlined above. With proper care, your painted patio chairs will continue to enhance your outdoor space for years to come.
How To Paint Metal Patio Furniture So It Looks Like A Million Bucks
How To Paint Metal Patio Furniture So It Looks Like A Million Bucks
How To Spray Paint Metal Outdoor Furniture Last A Long Time H2obungalow
How To Paint Metal Patio Furniture Green With Decor

Indoor To Outdoor Furniture I Painted Until My Arm Fell Off Grandmas House Diy

How To Paint Metal Patio Furniture So It Looks Like A Million Bucks

Painted Patio Chairs Rust Oleum

How To Paint Metal Patio Furniture

Adirondack Chairs For Kids Colorful Outdoor Furniture

Mid Century For Less Diy Tutorial Painted Patio Chair Dirty Diaper Laundry
Related Posts


